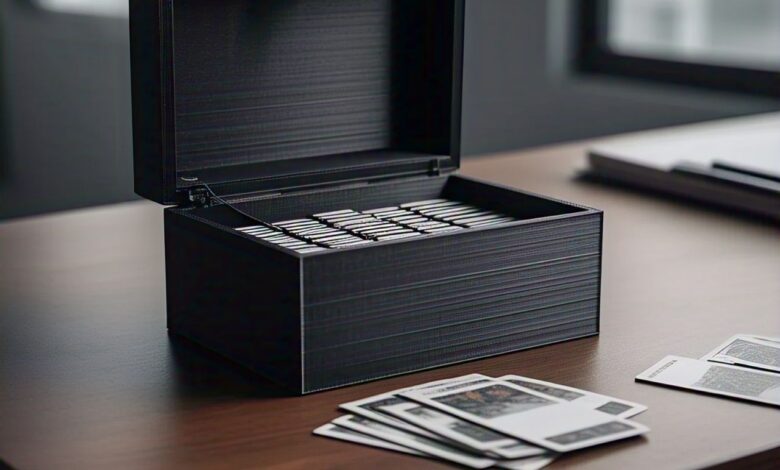
A 3D printed business card box 500 cards is a fantastic way to keep your business cards safe and organized. This creative solution not only helps store cards efficiently but also adds a personal touch to your office or workspace. Whether you’re a professional, small business owner, or hobbyist, a 3D printed box can be customized to meet your exact needs.
Creating a 3D printed business card box for 500 cards involves understanding the size and design of the box, selecting the right materials, and using the appropriate tools. In this guide, we’ll walk you through the process of designing, printing, and finishing your box, so you can showcase your business cards with style and functionality.


Understanding the Dimensions for a 3D Printed Business Card Box 500 Cards
When designing your 3D printed business card box 500 cards, the first step is knowing the size of a standard business card. Depending on your location, the size may vary. In the U.S., the standard size is 3.5 x 2 inches (88.9 x 50.8 mm), while Europe and Asia have slightly different measurements.
You’ll need to make sure that the box is large enough to hold a stack of 500 cards. A stack of 500 cards is about 7 inches tall (180 mm). This means the internal dimensions of the box should be designed with some extra space to ensure the cards fit easily. If the box is too tight, it will be hard to remove the cards.
Consider the design and layout carefully. A good 3D printed business card box 500 cards should have a little extra clearance, allowing you to access your cards quickly and easily. Also, think about the weight of the box. It needs to be strong but lightweight enough to carry around if needed.
Step-by-Step Guide to Designing Your Own 3D Printed Business Card Box
Designing your 3D printed business card box for 500 cards is easier than you think. Start by choosing a simple tool like Tinkercad for beginners or Fusion 360 for more advanced designs. These tools help you create a box that’s the perfect size for your cards.
- Design the Box: Start with a simple rectangle or square, making sure the internal dimensions match the size of your cards.
- Add Features: Next, decide if you want to add a lid or compartments. A hinged lid is a great option for easy access to the cards.
- Customize: Add some flair by adding textures, logos, or even engravings to make your box stand out.
- Export: Once you’re happy with your design, export the file as an STL file, which is compatible with most 3D printers.
By following these simple steps, you can create a 3D printed business card box for 500 cards that’s both functional and stylish.
The Best Filaments for Printing a 3D Business Card Box 500 Cards
Choosing the right filament for your 3D printed business card box 500 cards is crucial to get the best result. Each filament type has its pros and cons. Here’s a look at some popular options:
- PLA (Polylactic Acid): This material is eco-friendly, easy to print, and great for beginners. However, it’s not as durable as other options and may be sensitive to heat.
- ABS (Acrylonitrile Butadiene Styrene): ABS is strong and heat-resistant, making it a great choice for durability. However, it can be a bit difficult to print and may release fumes.
- PETG (Polyethylene Terephthalate Glycol): PETG is flexible, durable, and glossy. It combines the best features of PLA and ABS, making it an ideal choice for a 3D printed business card box 500 cards.
When selecting your filament, consider factors like durability, ease of printing, and the final appearance. For a strong, visually appealing box, PETG is often the best choice.
3D Printing Tips for Crafting the Perfect Business Card Box
3D printing your business card box for 500 cards can be an exciting project. But to get the best results, you need to follow some key tips:
- Layer Height: Set your printer to 0.2 mm layer height for a good balance between detail and speed.
- Infill Density: Choose an infill density between 20-30% for a durable yet lightweight box.
- Print Speed: Print at 50-60 mm/s for precision and smooth results.
Post-Processing Tips:
- Sanding: After printing, smooth out rough edges with sandpaper.
- Painting: Add color with spray paint for a polished, professional look.
- Assembling: Attach any additional parts like hinges or a lid after printing.
These tips will help you achieve a high-quality 3D printed business card box 500 cards that looks amazing and functions perfectly.
Troubleshooting Common 3D Printing Issues for Your Business Card Box
Sometimes, problems can occur while printing your 3D printed business card box for 500 cards. Here are some common issues and how to solve them:
- Warping: Make sure your printer bed is level and use adhesives to improve bed adhesion.
- Stringing: Adjust the retraction settings to avoid filament strings.
- Weak Joints: Increase the wall thickness or infill density to add strength to your box.
If you follow these steps, you should be able to fix any issues and print a solid, functional business card box.
Conclusion:
In conclusion, creating a 3D printed business card box 500 cards is a fun and practical project. Not only does it help you stay organized, but it also lets you show off your creativity. Whether you’re storing your own cards or giving them out at events, a custom 3D printed box makes everything more professional. With the right materials and design, your box will be both sturdy and stylish.
If you’re new to 3D printing, don’t worry! With the right tools and a little patience, anyone can create a unique business card box. Just follow the steps, choose the right filament, and take your time with the design. Before you know it, you’ll have your very own 3D printed business card box for 500 cards that’s perfect for your needs .


